How to Enable and Use Inventory Management in Dance Studio Manager (DSM)
Dance Studio Manager’s Inventory feature lets you track your merchandise, uniforms, and other products — all in one place. In this guide, we’ll walk you through enabling permissions, setting up categories, and managing inventory like a pro.
Step 1. Turn On Inventory Permissions
Inventory management is only available to specific login groups or staff members you assign.
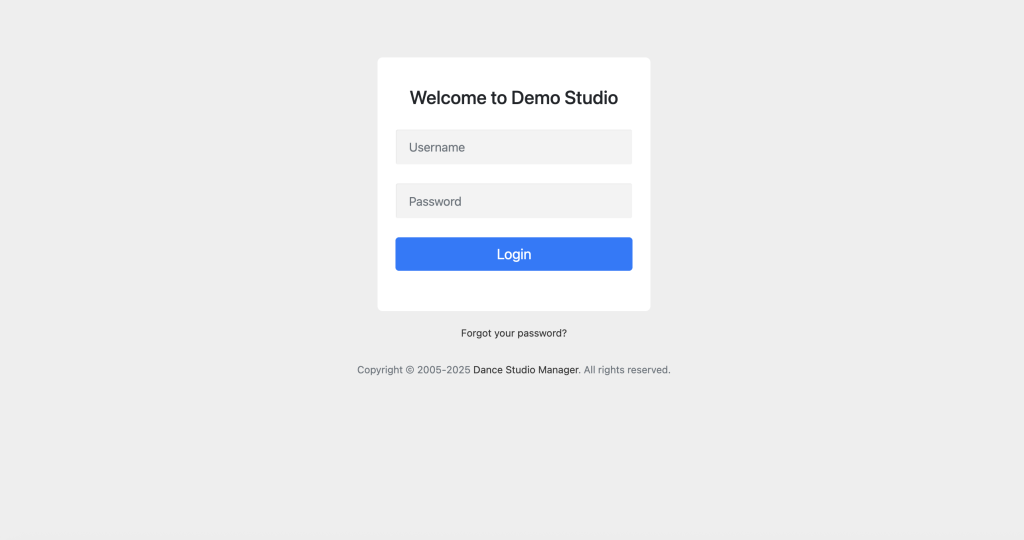
1. Go to http://clients.dancestudiomanager.com and log in.
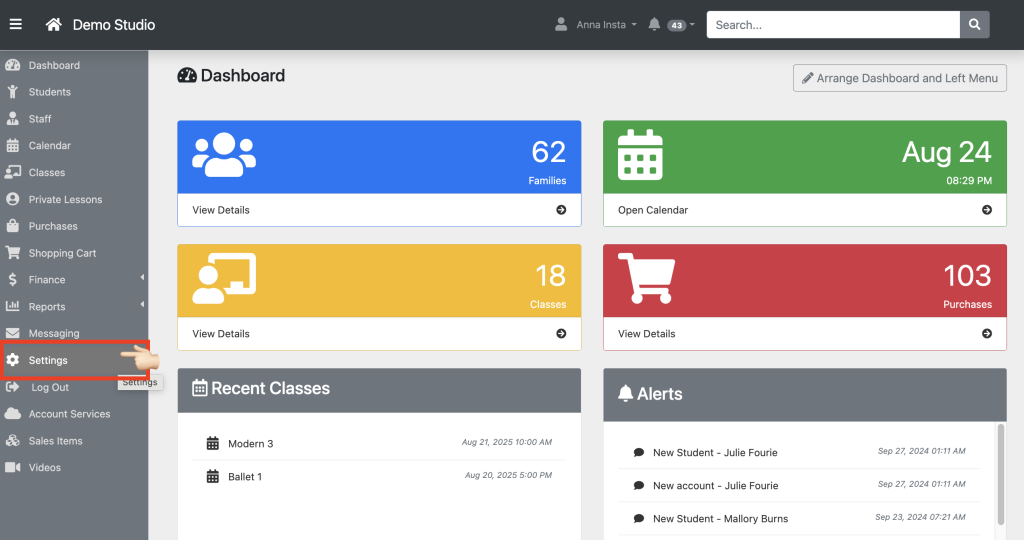
2. From the Dashboard, open the “Settings” menu on the left.
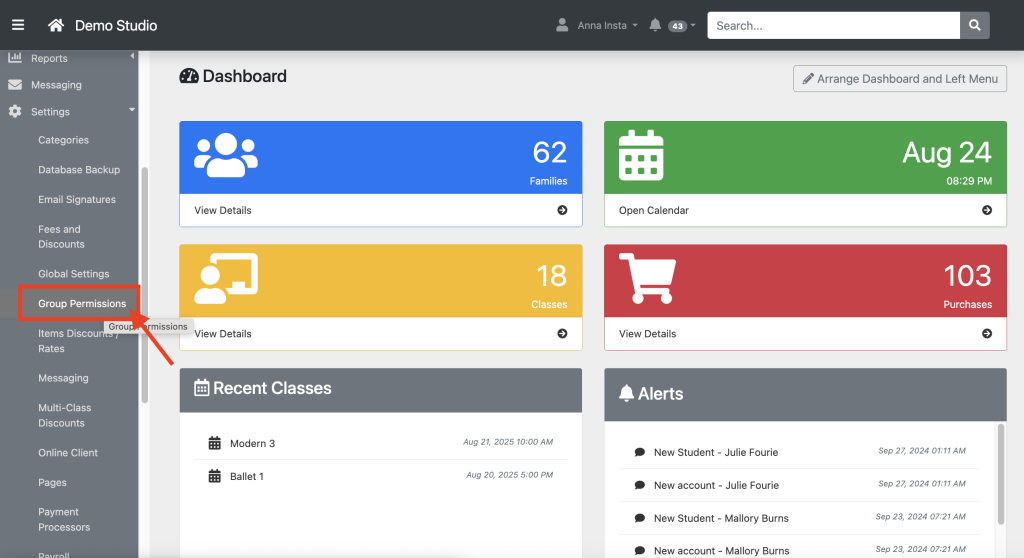
3. Under “Settings”
Click “Group Permissions“
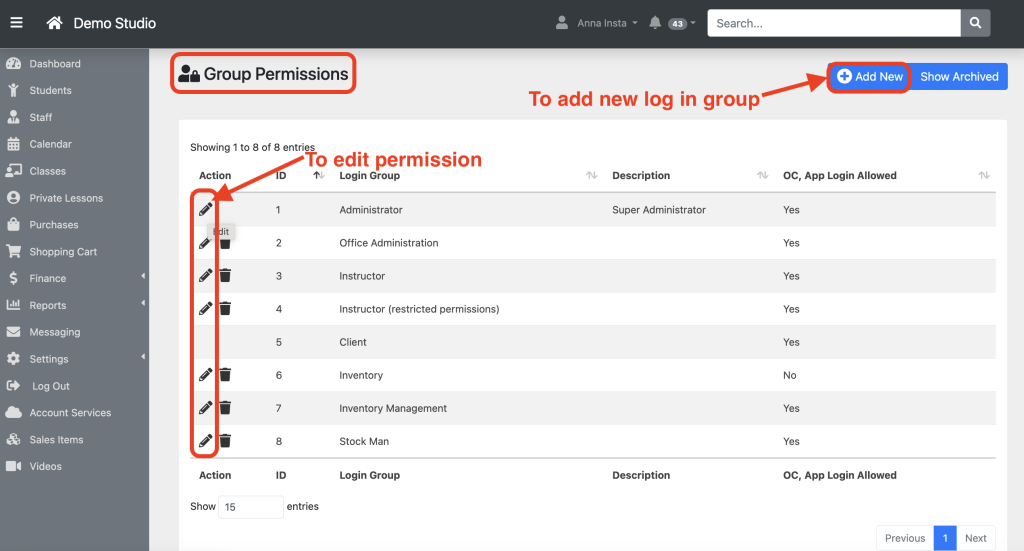
4. In “Group Permissions,” find the group you want to edit — the one responsible for managing the stock (e.g., Instructor, Administrator, Stock Manager, or Inventory Manager) — and click the pencil icon to edit.
Alternatively, you can also add a new login group by clicking “Add New.”
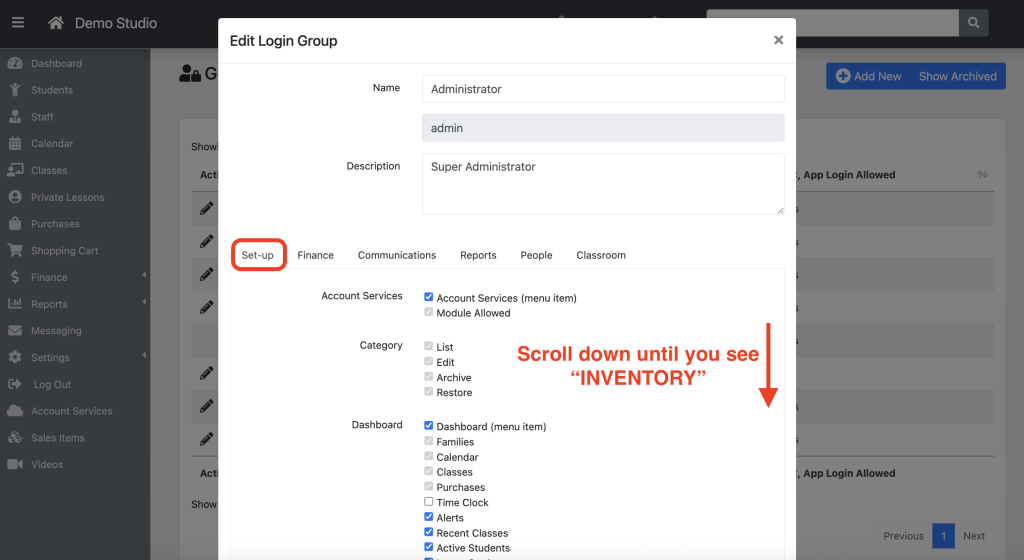
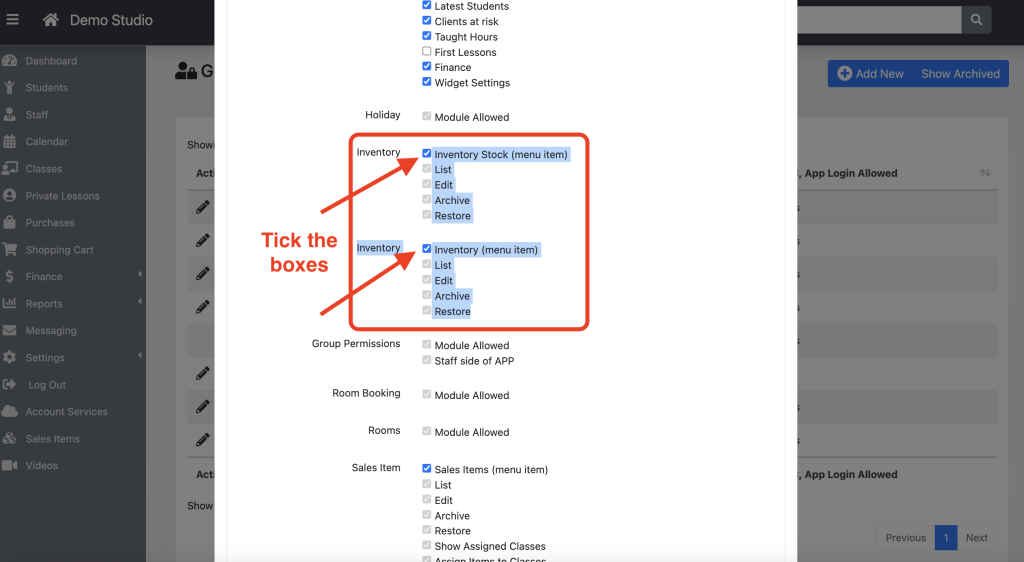
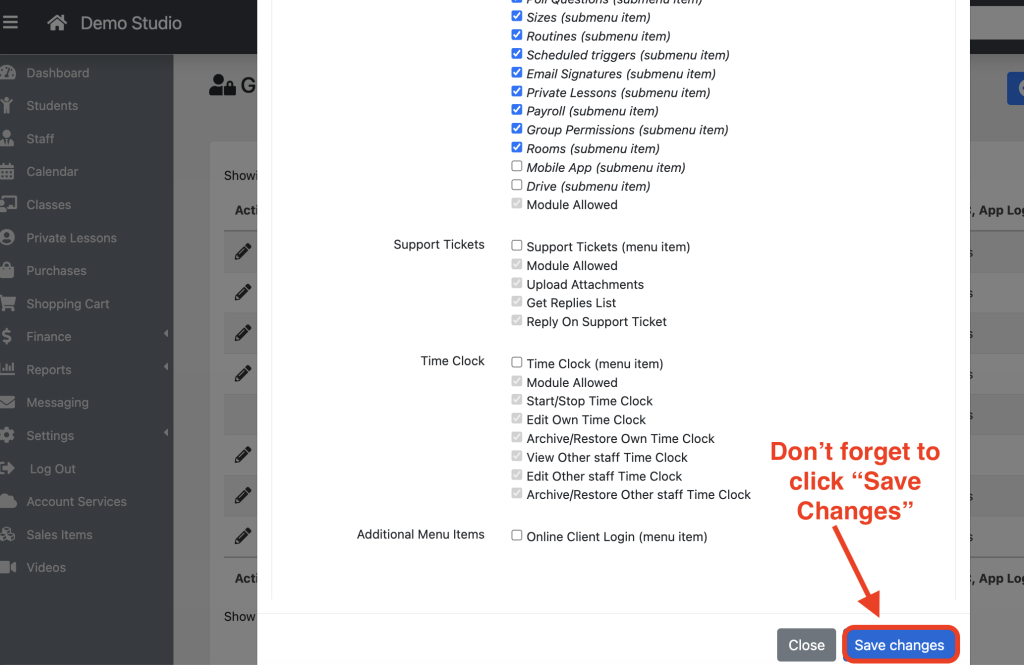
5. Scroll to the Set Up section and tick the following boxes:
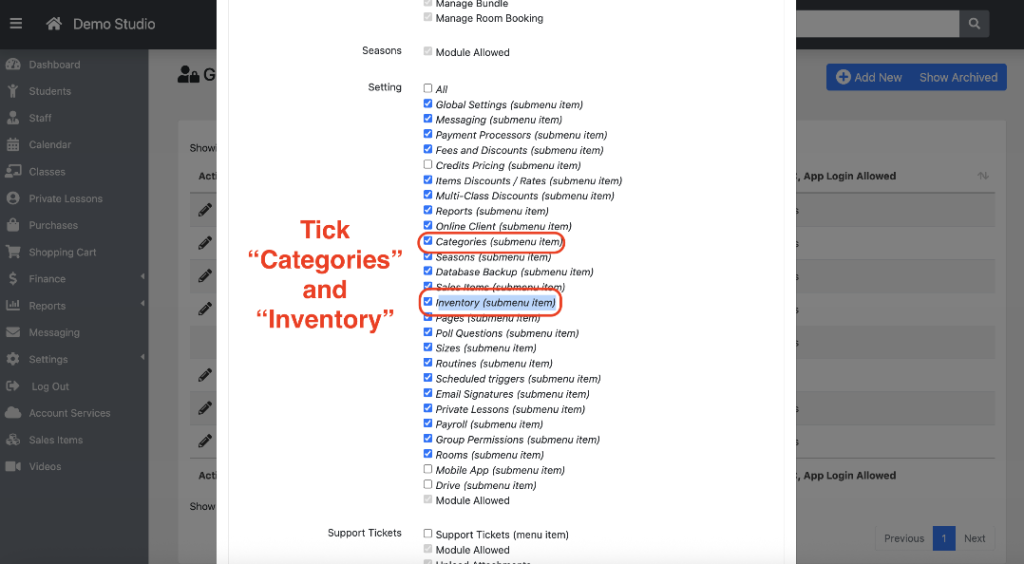
6. Scroll to the Settings section, find “Categories (submenu item)” & “Inventory (submenu Item)” , and tick the box.
7. Click Save.
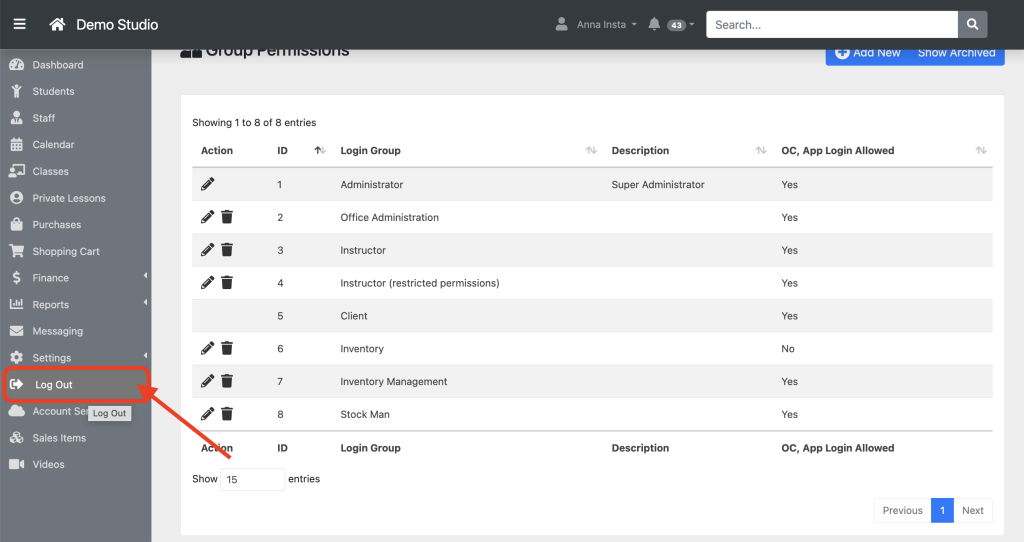
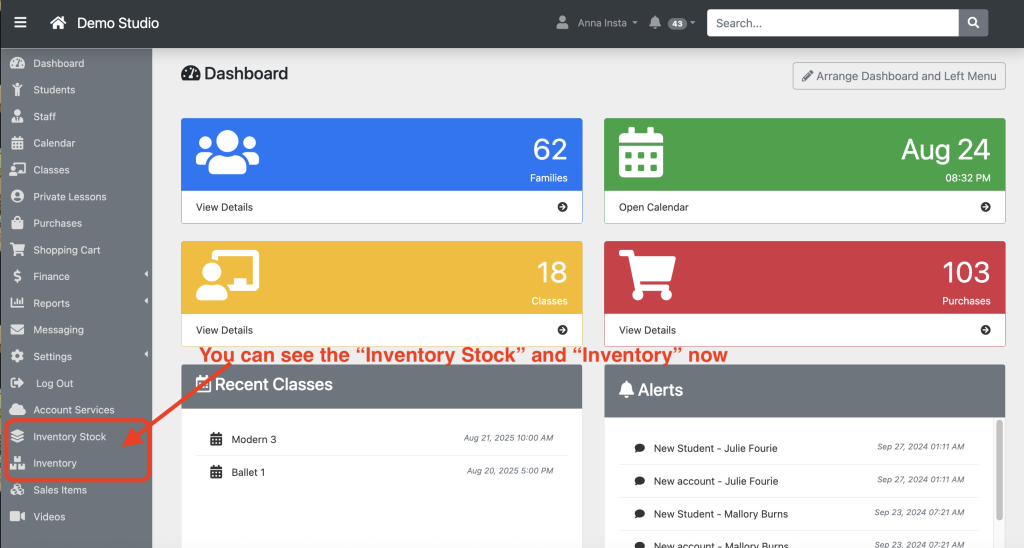
8. Log out and then log back in. You will see the Inventory tabs on the left side.
Step 2: Create Inventory Categories
Categories help organize your products by size and color.
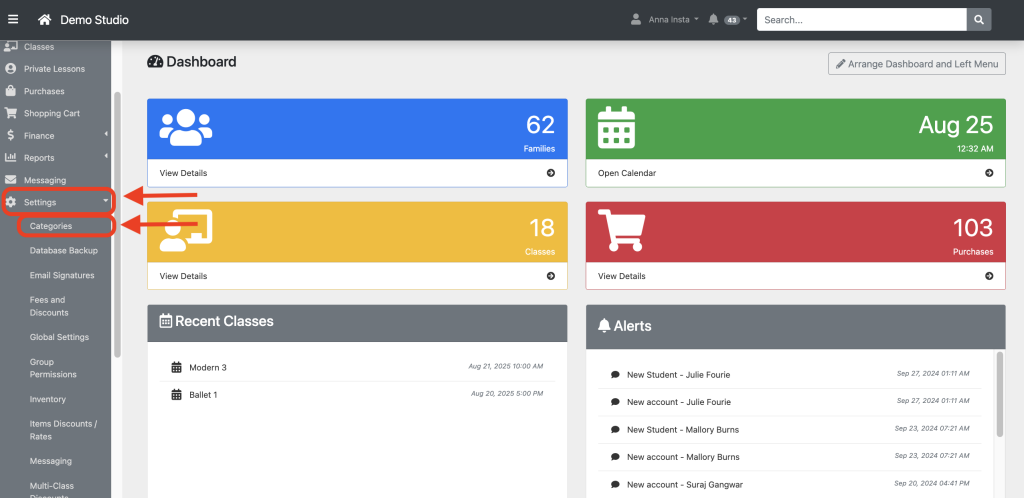
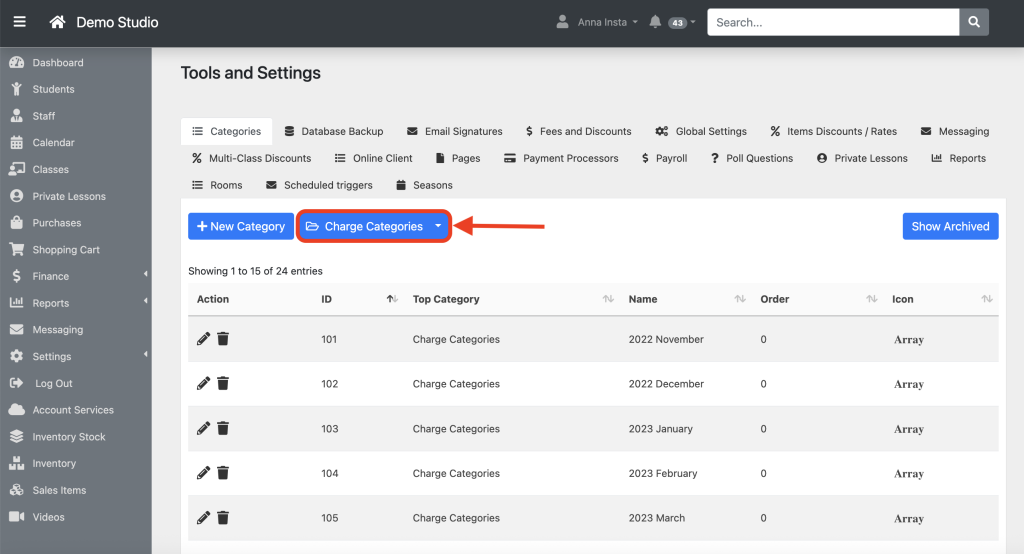
1: Go to Categories
From your Dashboard, go to Settings. Under Settings, select Categories — this is where you’ll find options specifically designed for inventory management.
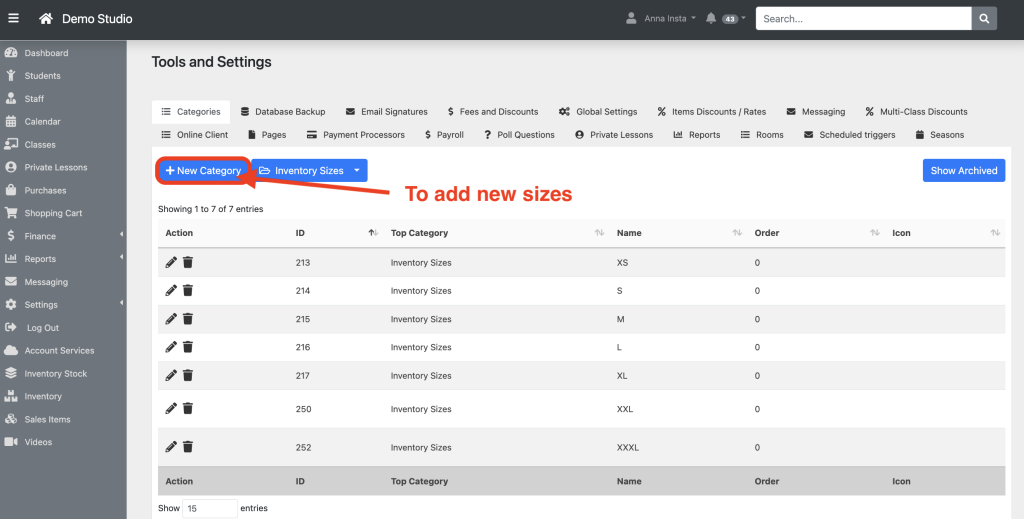
2: Inventory-Specific Categories
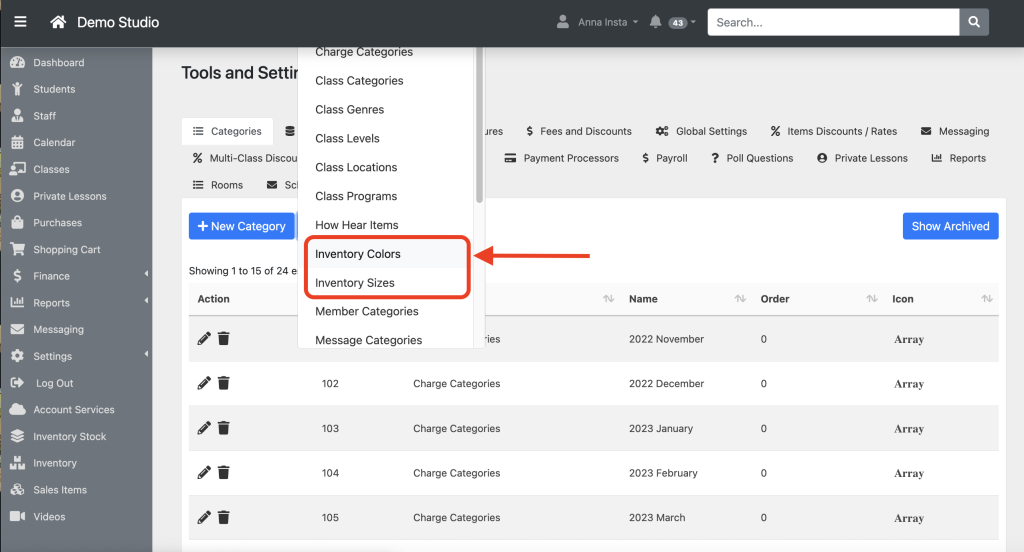
Once you are in “Categories” you will see this, click on this one and find the “Inventory Colors” & “Inventory Sizes”.
Inventory Colors – e.g., Black, Pink, Multi-color
Inventory Sizes – e.g., XS, S, M, L, XL
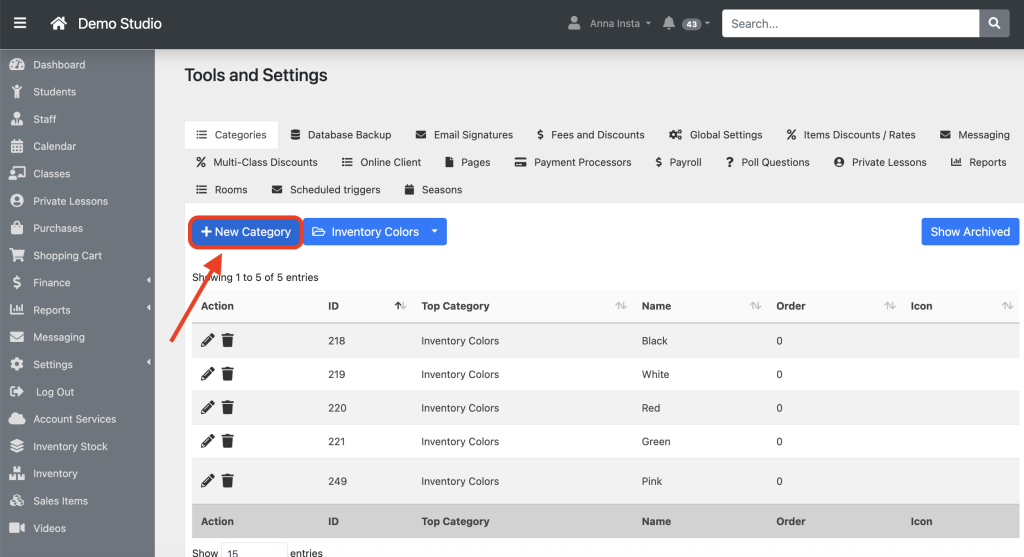
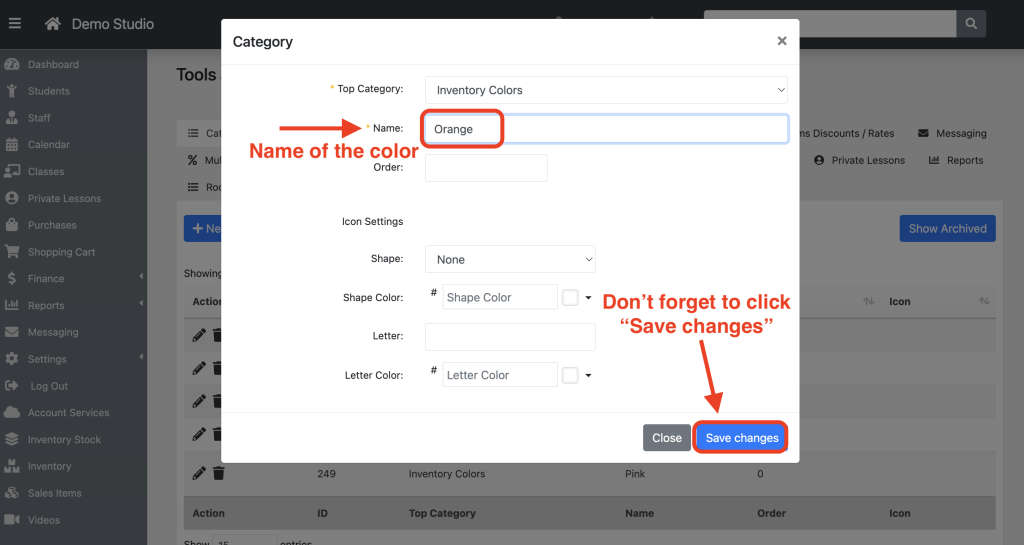
You can customize Inventory Colors according to your preferences.
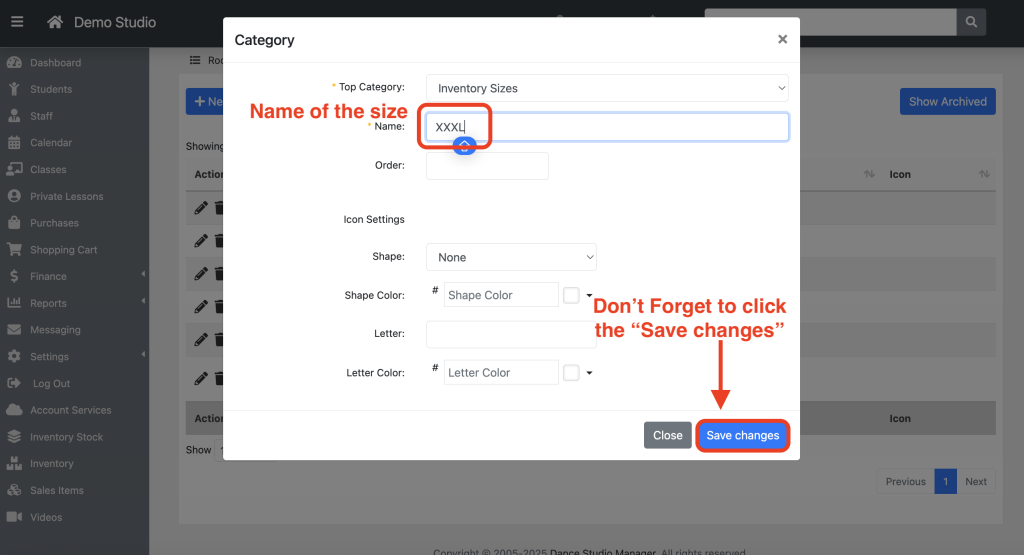
The same goes for Inventory Sizes — you can customize them too.
Edit or Remove Categories
– Click the pencil icon to edit an existing category.
– Click the trash icon to delete or archive it.
Tip: Keep your categories simple and organized to make searching and filtering inventory smoother.
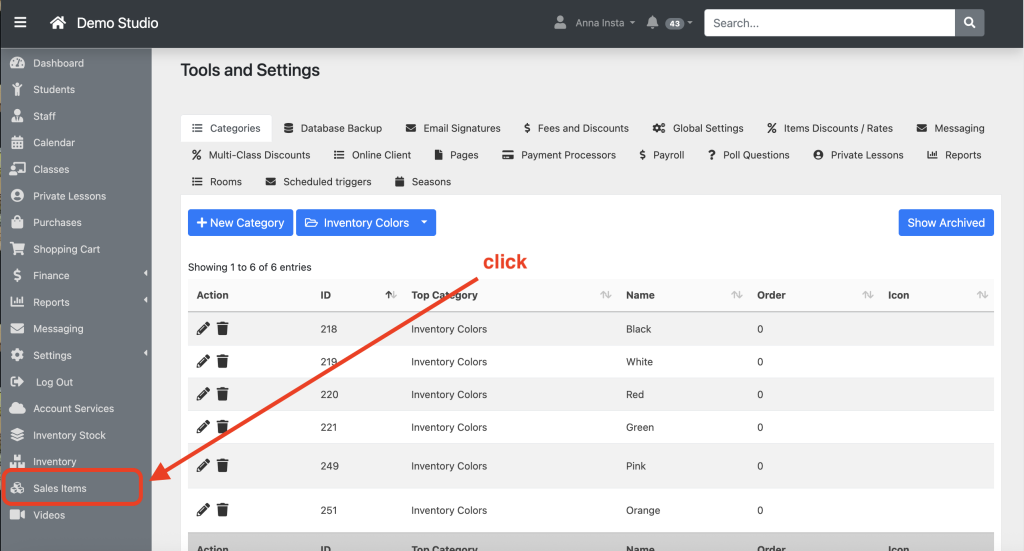
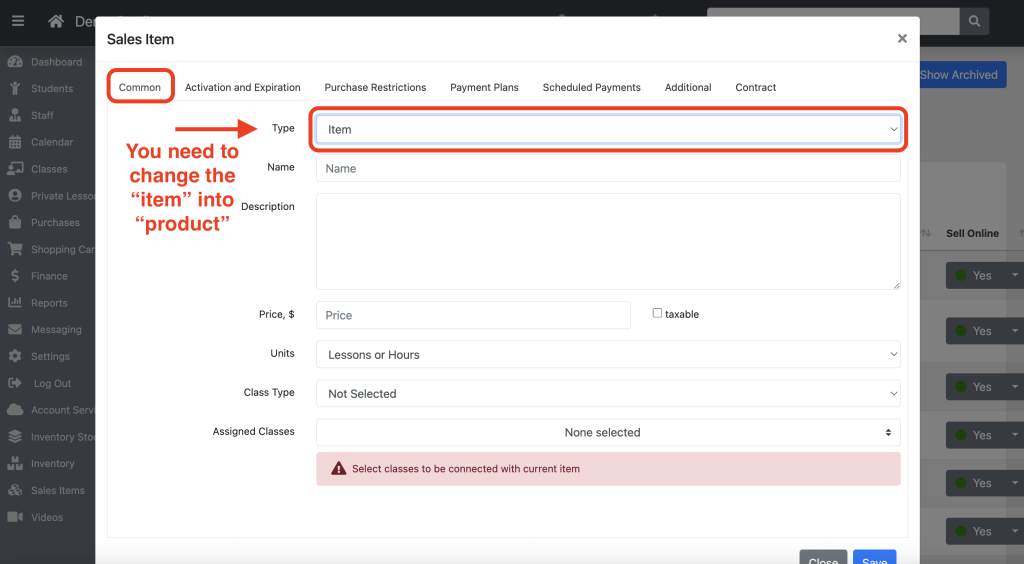
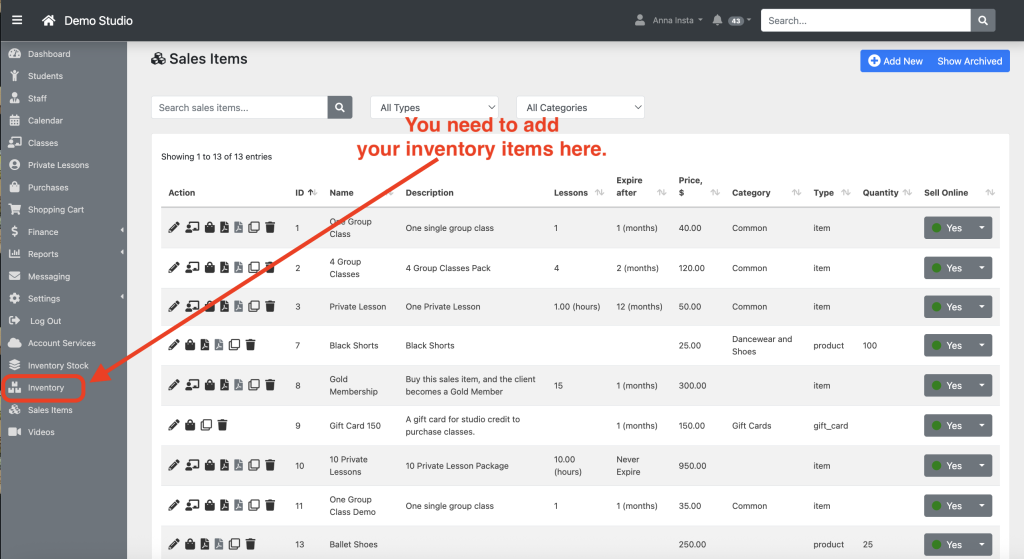
Step 3: Sales Items
– You need to add your PRODUCT to the SALES ITEMS in order to have inventory items.
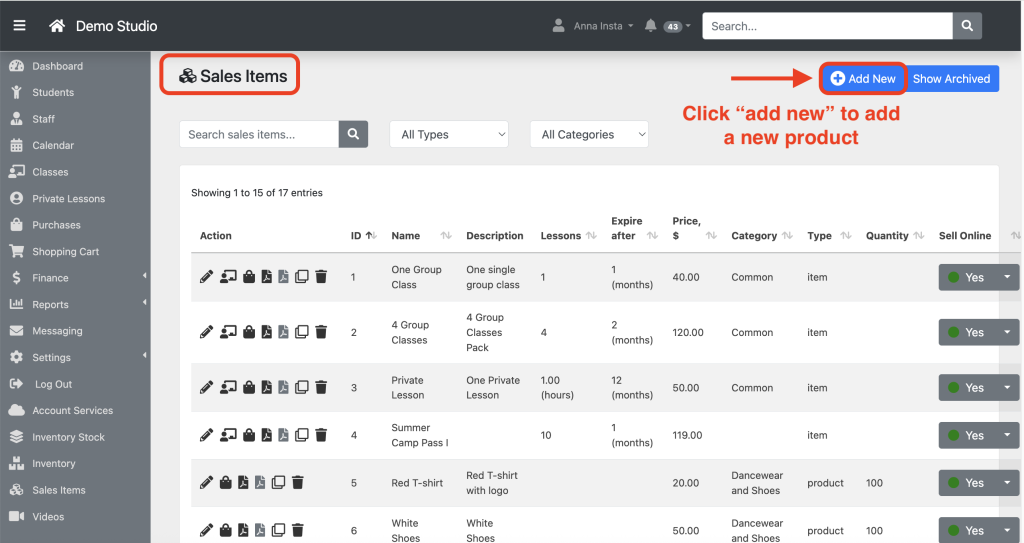
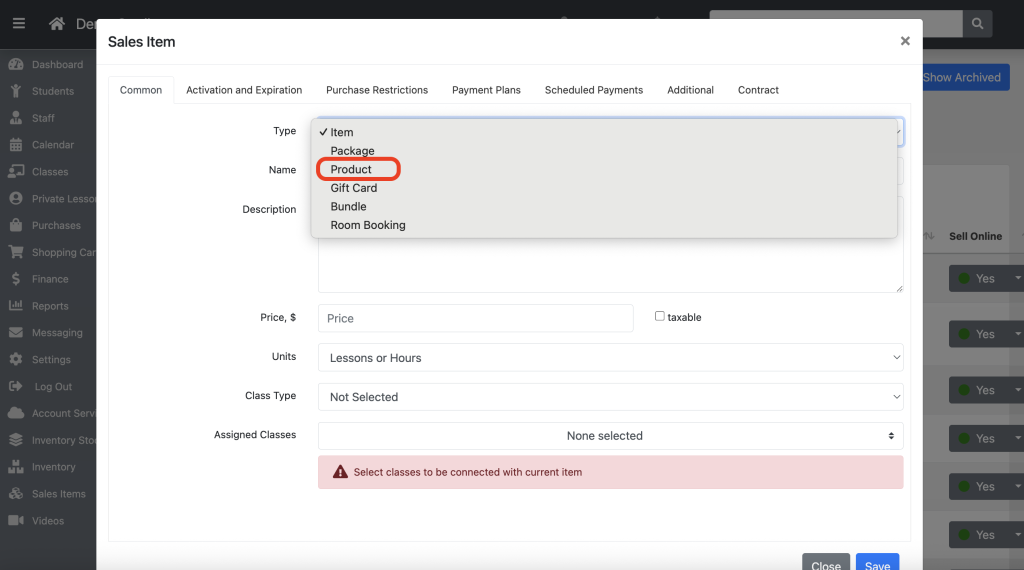
– On the Common tab, you need to change the type to ‘Product’.
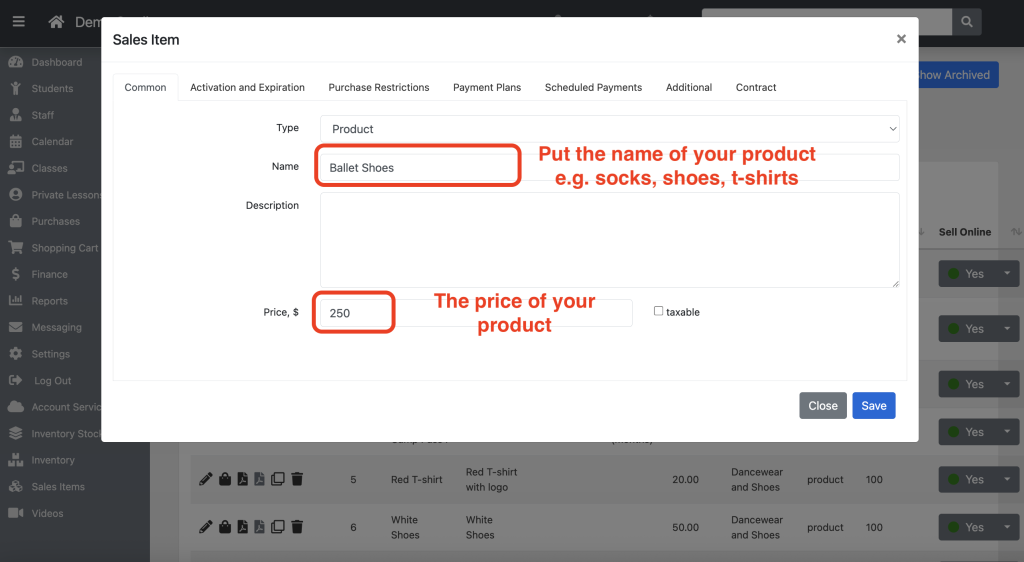
– Next, enter your product’s name and its price.
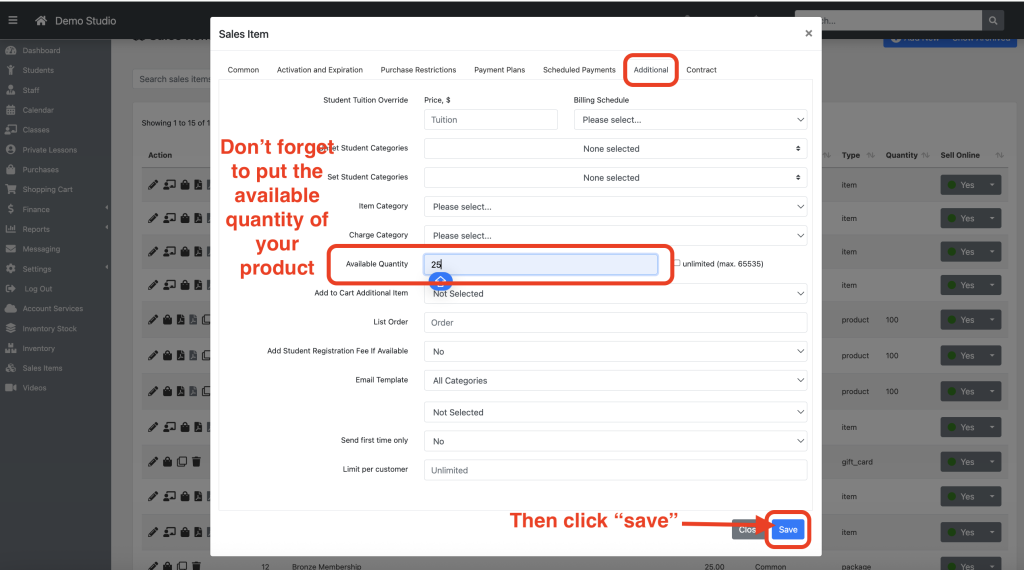
– After completing the Common tab, click on the ‘Additional’ tab and input the available quantity of your product.
-Then click “save”.
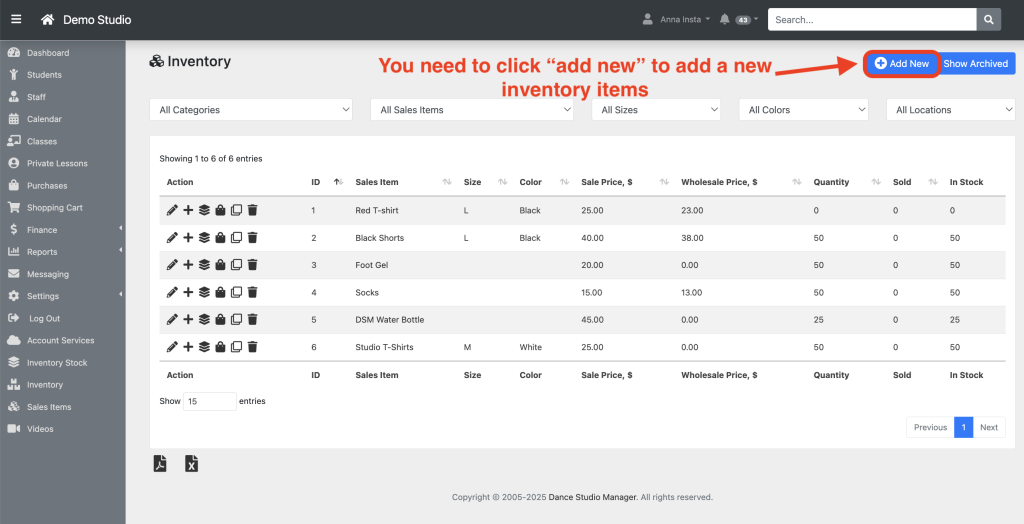
Step 4: Inventory Items
Now you can start adding the products you want to track.
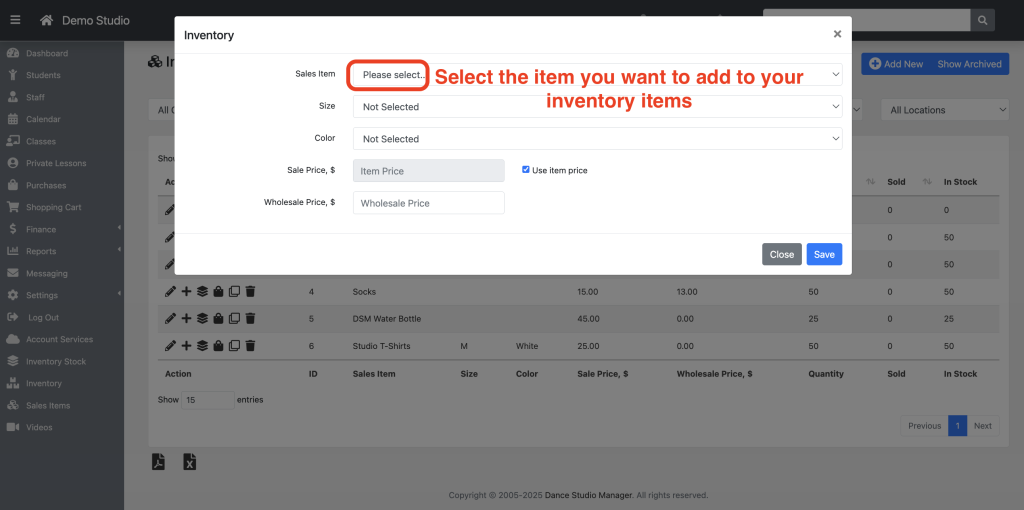
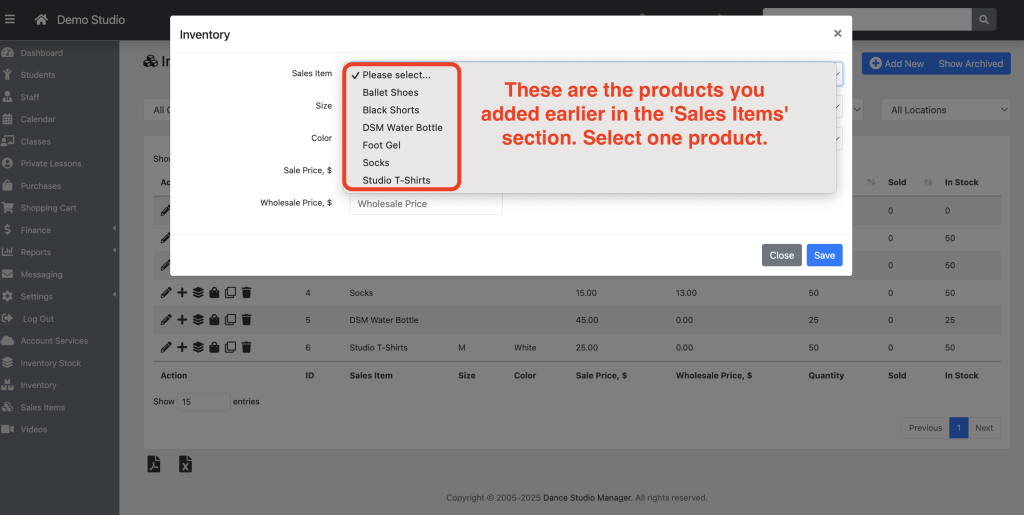
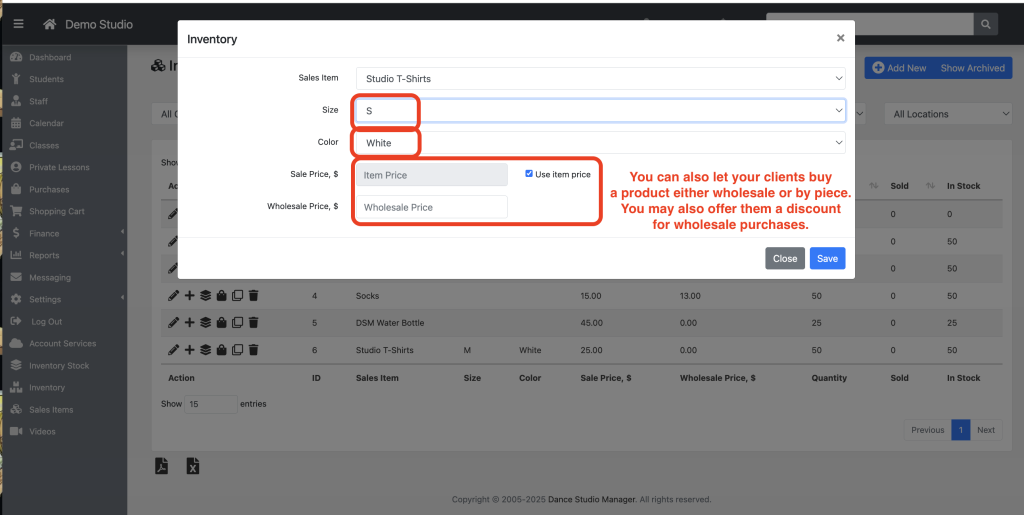
– From the Sales Items section, click “Inventory,” then click “Add New” to add new inventory items. Select the items you want to include in your inventory. You will see the products you added earlier in the Sales Items section. Select a product, then choose the sizes, colors, and set the price for your product.
– You can also allow your clients to purchase by piece or wholesale, and offer a discount for wholesale purchases.
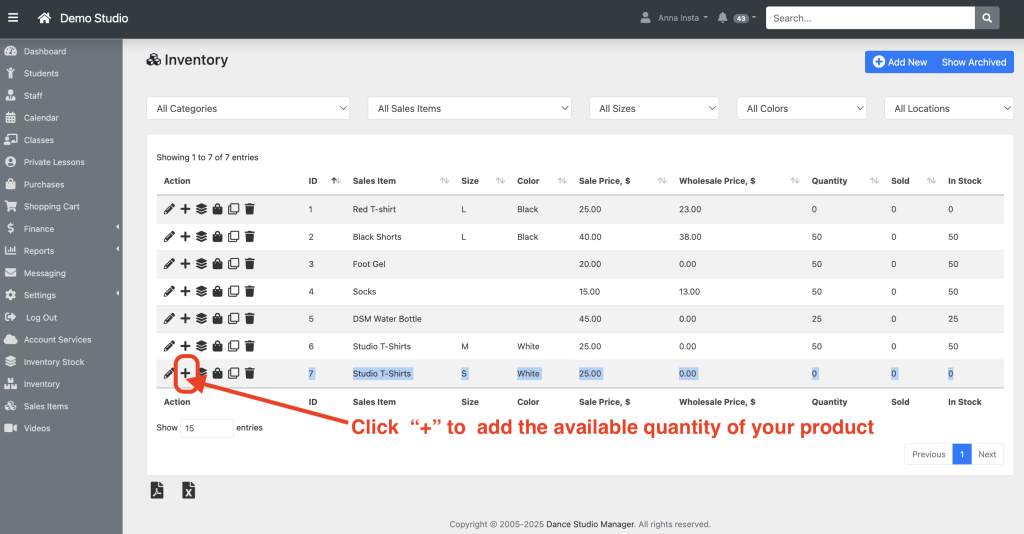
Step 5: Click the “+” button to add the available quantity of your product.
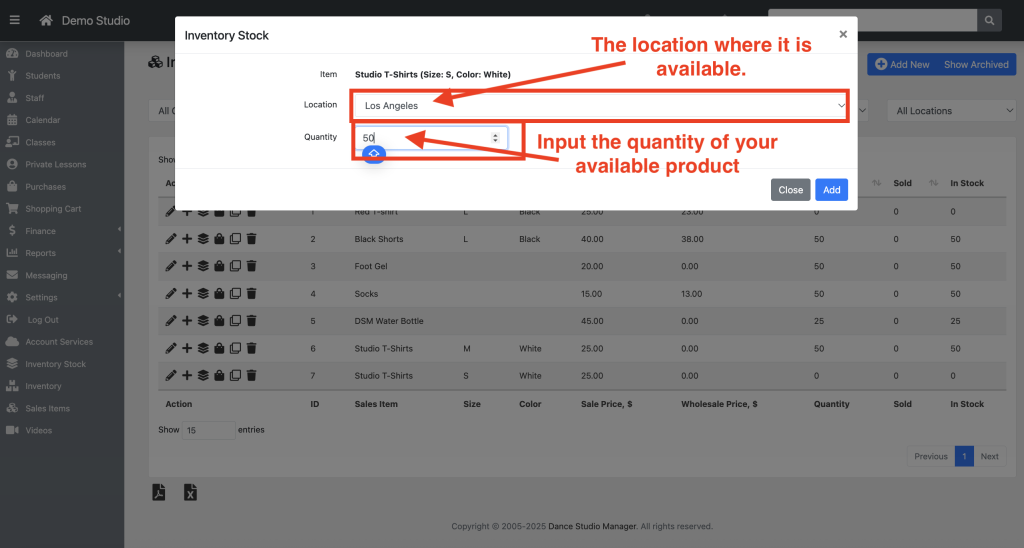
– You will then see the Location field. Click on it and select the location where this product is available. As we know, a studio may have multiple branches in different locations.
– After selecting the location, enter the available quantity for that product at that specific location.
-Then click “add”.
Step 6: Manage Stock & Product Actions
On the “Inventory” tab, you’ll see several action icons:
Pen Icon
To edit
Plus Icon
Add or adjust stock quantity.
Stacked Boxes Icon
Open the Inventory Stock page for detailed stock management.
Purse Icon
View purchase history for the item.
Paper Icon
Duplicate (clone) an existing item.
Trash Icon
Archive the item so it’s hidden from active inventory.
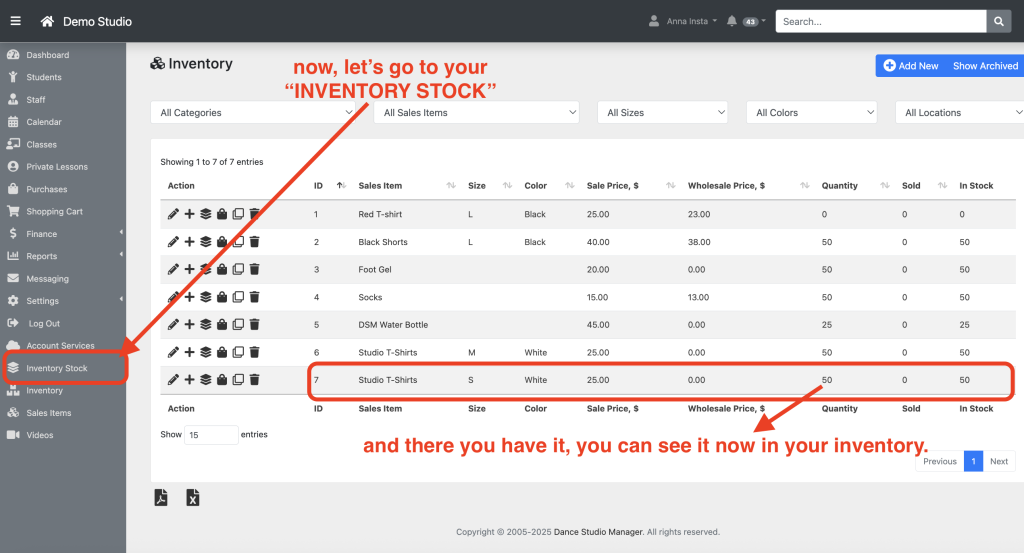
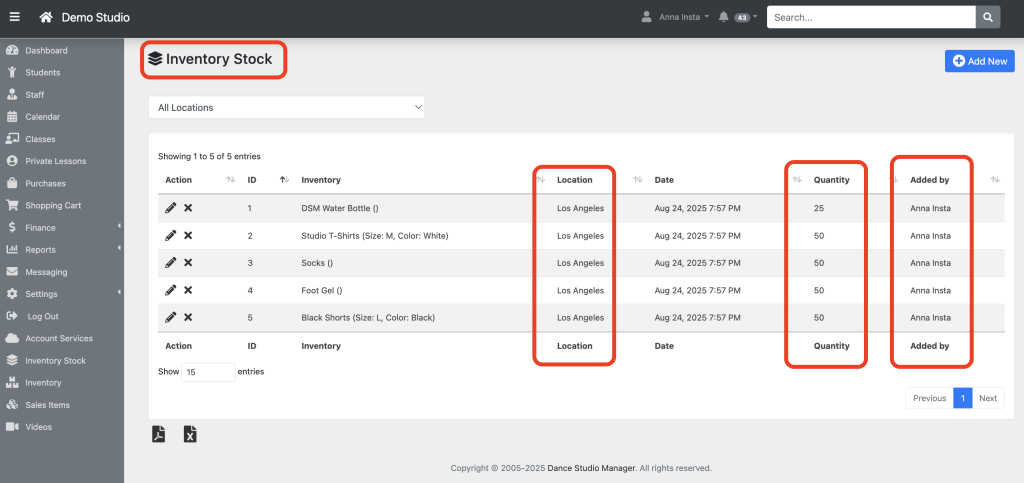
Step 7: Inventory Stock
In the Inventory Stock section, you will see the location of the specific product, the available quantity, and the name of the person who added the stock to the system.
– And that’s it.
-
-
-
-
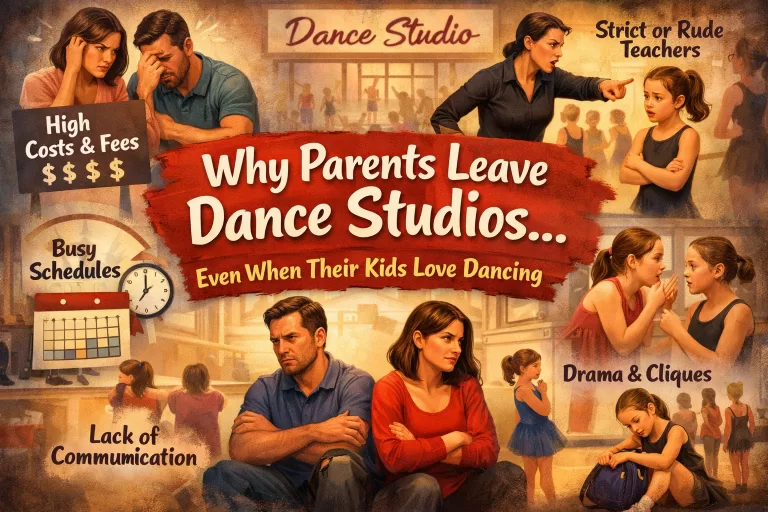
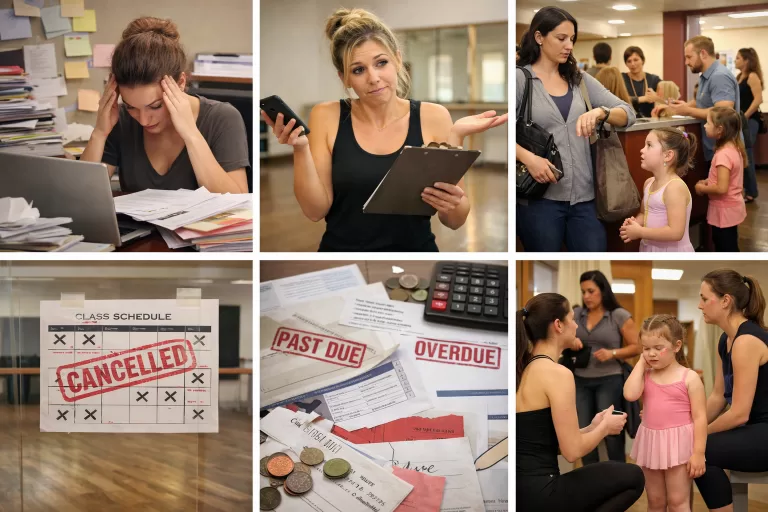
Signs Your Dance Studio Needs Better Management Software
Signs Your Dance Studio Needs Better Management Software Most dance studios do not realize they have outgrown their current system until the same problems keep showing up: missed payments, messy schedules, parent questions, attendance gaps, and too many hours spent fixing admin details. Spreadsheets and basic calendars may work when your studio is small. But…
-
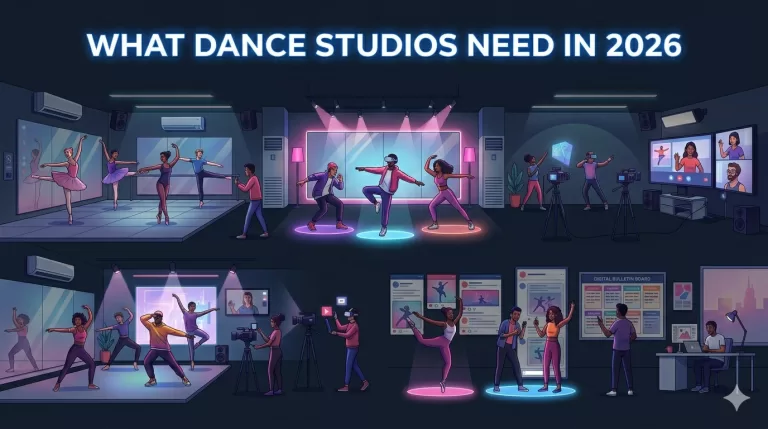
What Dance Studios Really Need in 2026
What Dance Studios Really Need in 2026 Dance studios in 2026 are operating in a very different environment compared to just a few years ago. It is no longer just about running classes and teaching choreography. Today's studios are dealing with higher parent expectations, faster communication demands, more complex schedules, increased competition, and growing administrative…
-