Check-in
Check in at the studio kiosk
#Before you begin
- Use the kiosk link or device provided by the studio.
- Have the phone number or email address associated with your account.
- Be ready to review any missing profile fields or unsigned agreements.
- Ask studio staff for help if the masked search result does not clearly identify your account.
Important: The kiosk does not collect payment. A successful class check-in does not mean that a balance or purchase requirement has been resolved.
#Find your account
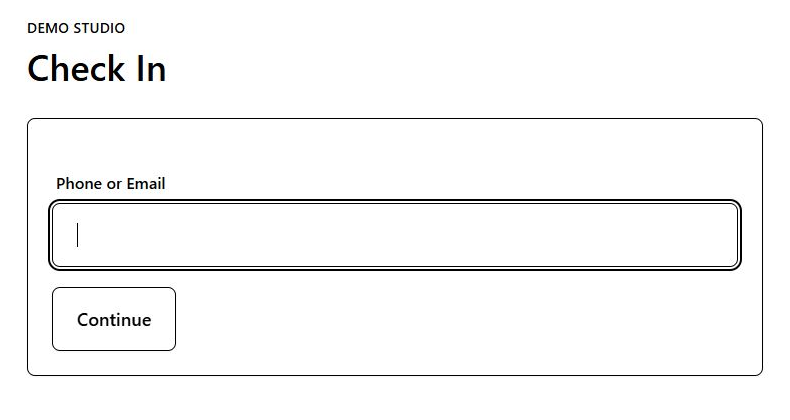
- Enter the phone number or email address requested on the kiosk.
- Select Search.
- Review the masked matches.
- Choose the correct account or person.
Masked results are designed to help identify an account without displaying full contact information on a shared screen.
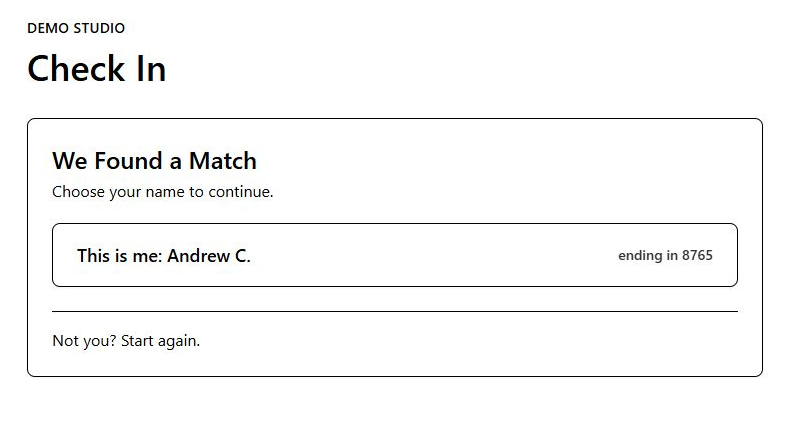
Warning: Do not choose a result when you are unsure who it belongs to. Ask studio staff to help rather than opening another family's information.
#Complete missing information
The kiosk can ask for required profile fields before showing today's classes.
- Enter only the information requested by the studio.
- Review each agreement before accepting or signing it.
- Confirm that the person named on the agreement is correct.
- Continue after the page accepts the required fields and agreements.
The exact fields and signature method depend on studio settings.
#Check in for today's classes
- Review the list of classes meeting today.
- Select every class the student is attending now, and leave unrelated classes unselected.
- Review the student name, class names, and meeting times.
- Select the final check-in action once.
- Wait for the success message.
When more than one eligible class appears, the kiosk can accept multiple selections in one check-in.
#Confirm it worked
The kiosk should show a success state and then reset for the next person. If the studio displays the recorded attendance status, confirm it matches the intended check-in state.
Front-desk staff can verify the result from the class attendance or roster view using the same meeting date.
#If no account is found
When the studio permits it, the kiosk can collect a minimal new profile and then continue through required fields and agreements. Follow the on-screen prompts and ask staff before creating a second record for someone who may already have an account.
Important: A kiosk profile is not a substitute for completing registration, choosing pricing, or checking out. Studio staff may need to finish those workflows separately.
#Privacy on a shared device
- Finish the entire check-in and wait for the page to reset.
- Do not photograph the account-match or agreement screen.
- Do not leave the device on a page showing another person's information.
- Tell staff if the kiosk does not reset or shows information that should not be visible.
#Troubleshooting
#The kiosk page is unavailable
The studio may have disabled it, limited it to an approved network, or required a private kiosk link. Ask staff for the current access method; do not remove or share private link parameters.
#No classes appear
Confirm the correct person was selected and that the class meets today. Enrollment, schedule status, attendance window, or studio settings can affect the list.
#An agreement cannot be completed
Confirm the named signer and required signature or checkbox. Ask staff to review the agreement assignment rather than repeating unrelated profile changes.
#The success screen did not appear
Do not repeatedly select the check-in action. Ask staff to inspect the class roster for the current date before trying again.